[ MAC ] Docker 에 MariaDB 설치 후 Dbeaver 연결하기
이번엔 터미널을 이용해 Docker에 MariaDB를 설치해보겠습니다.

Docker가 없다면 이전 글인
[MAC] Homebrew로 Docker 설치하기 를 읽어주세요.
[ MAC ] Homebrew로 Docker 설치하기 - https://joshwon.tistory.com/m/36
[ MAC ] Homebrew로 Docker 설치하기
MAC OS에서 Homebrew 를 이용해 Docker를 설치하려고 합니다. Homebrew 로 Docker를 설치하는 방법은 brew 와 brew cask 가 있습니다. 두가지는 차이점이 있는데, 첫번째 brew로 설치할 경우 - virtualbox, vargr..
joshwon.tistory.com
1. 터미널을 실행해서 MariaDB를 다운로드 합니다.
docker pull mariadb 를 입력합니다.
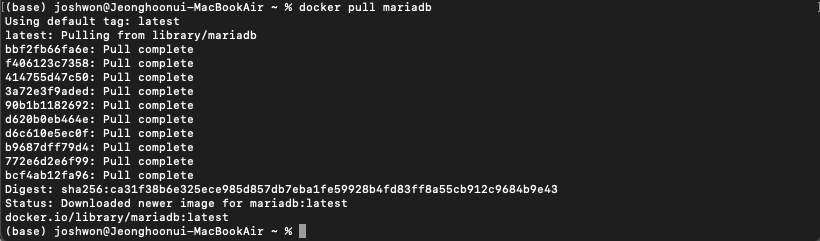
mariadb 최신 버전의 이미지를 다운로드 했다고 나옵니다.
2. docker image ls 를 입력해 다운로드를 확인해 보겠습니다.

다운로드가 잘 되었습니다. 그런데 created 가 35시간 전이네요. 왜 그런지 확인해보니 해당 이미지의 최신 버전이 규정된 시간이라고 합니다. 아래 링크를 확인해 주세요.
https://stackoverflow.com/questions/35078906/what-is-the-created-time-in-docker-images-command
What is the created time in docker images command?
What is the CREATED time exactly when you give this command? docker images It gives the time like 3 months ago, or 9 days ago. Is it the time it was uploaded to docker hub? Even for the lo...
stackoverflow.com
3. Docker 컨테이너를 실행합니다.
docker run --name mariadb -d -p 3306:3306 -e MYSQL_ROOT_PASSWORD=joshmariadb mariadb
--name : 컨테이너 이름
-d : 백그라운드 실행
-p : 포트번호 (mariadb는 기본 3306을 사용합니다.)
-e : 환경변수
MYSQL_ROOT_PASSWORD : root 개정의 비밀번호
mariadb : 다운로드 받은 이미지 파일 이름
4. 실행 컨테이너를 확인해보겠습니다.
docker ps 를 입력합니다.

잘 들어가 있네요.
5. Docker를 실행시켜 컨테이너가 잘 들어가 있는지도 확인해보겠습니다.
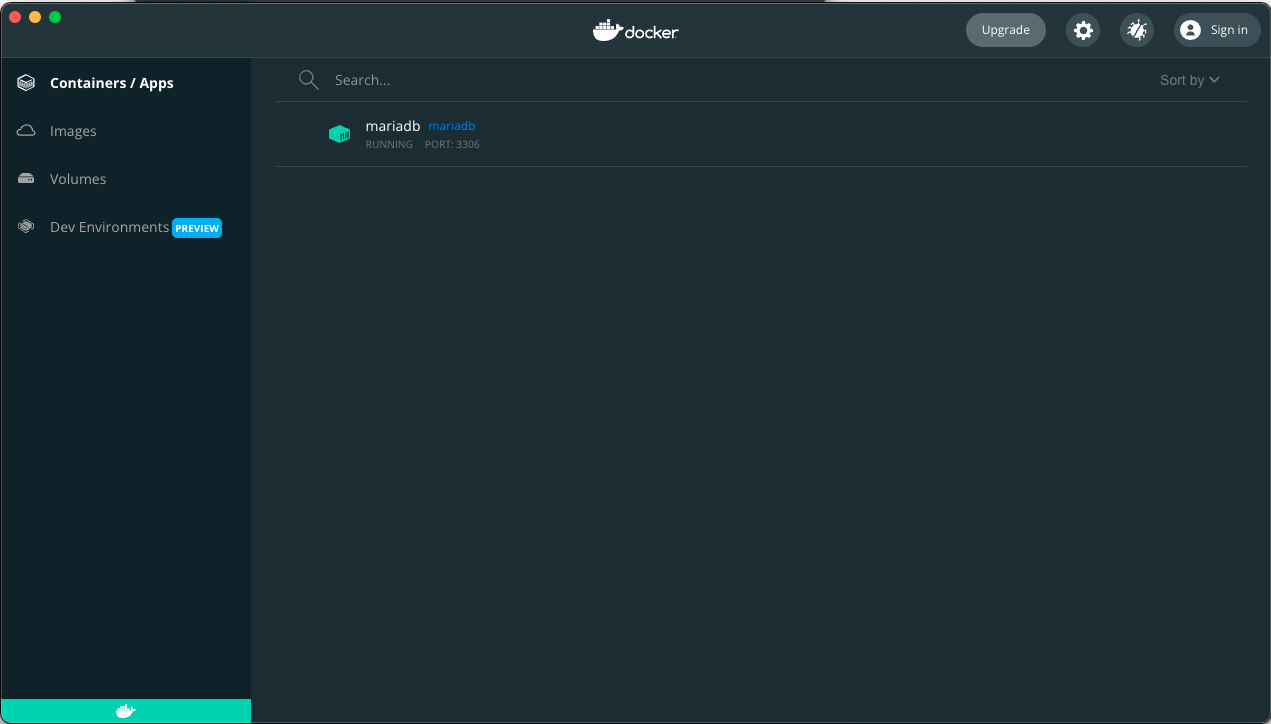
여기도 잘 들어가 있습니다.
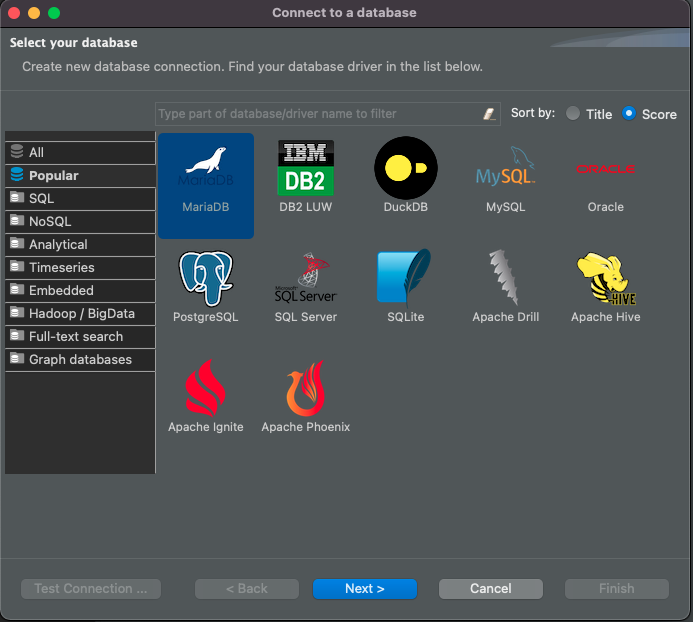
6. 이제 Dbeaver를 통해 띄워둔 mariadb를 등록해보겠습니다.
Dbeaver를 실행시켜 Connect to a database 를 누른 후 MariaDB를 선택해줍니다.
7. 방금 생성한 mariadb 정보를 입력하고 왼쪽 하단 Test Connection 을 눌러 연결을 확인합니다.
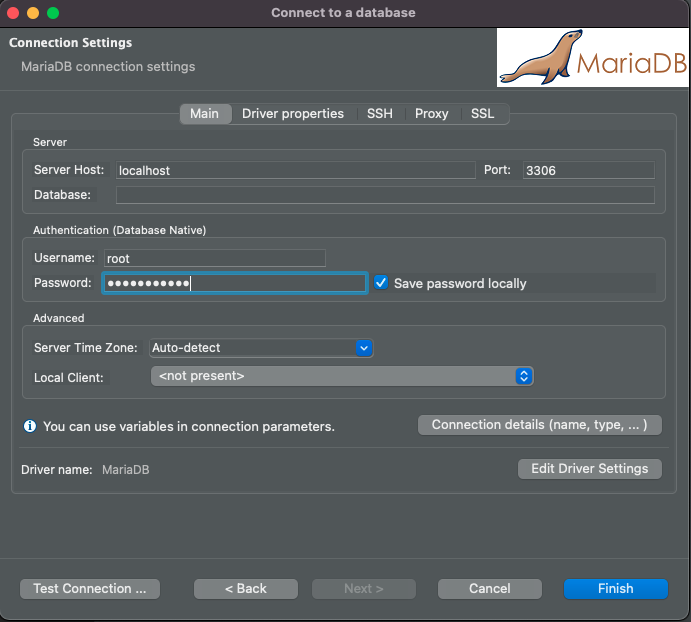
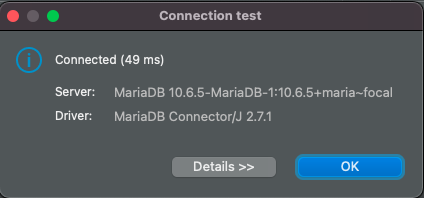
연결 되었다고 나옵니다.
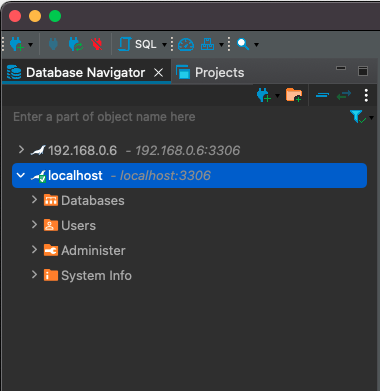
8. ok를 누르고 finish를 눌러 연결을 완료하면 왼쪽에 추가된 localhost mariadb를 확인 할 수 있습니다.
다음 글에서는 해당 mariadb에 테이블 및 필드를 생성하고 데이터를 추가해보겠습니다.
감사합니다.